

Kiosk Check-In & Check-Out
The CSP Connect Kiosk is a standalone tablet placed at your event site. It is designed for casual workers who do not have a mobile device with them or whose phone battery has run out. The kiosk handles check-in and check-out for your shift using your date of birth and surname to verify who you are. No phone and no login code are required.
Before you start
Section titled “Before you start”- The kiosk tablet is set up and managed by your manager or admin. You do not need to install anything.
- You will need to know your date of birth (day, month, and year) and the first letter of your surname.
- Make sure you are at the correct event site before approaching the kiosk.
- If you have your phone with you, use the CSP Connect mobile app instead.
- Your booking must be confirmed before you can check in. If you are unsure whether your booking is confirmed, speak to your manager before approaching the kiosk.
How it works
Section titled “How it works”| Step | What happens |
|---|---|
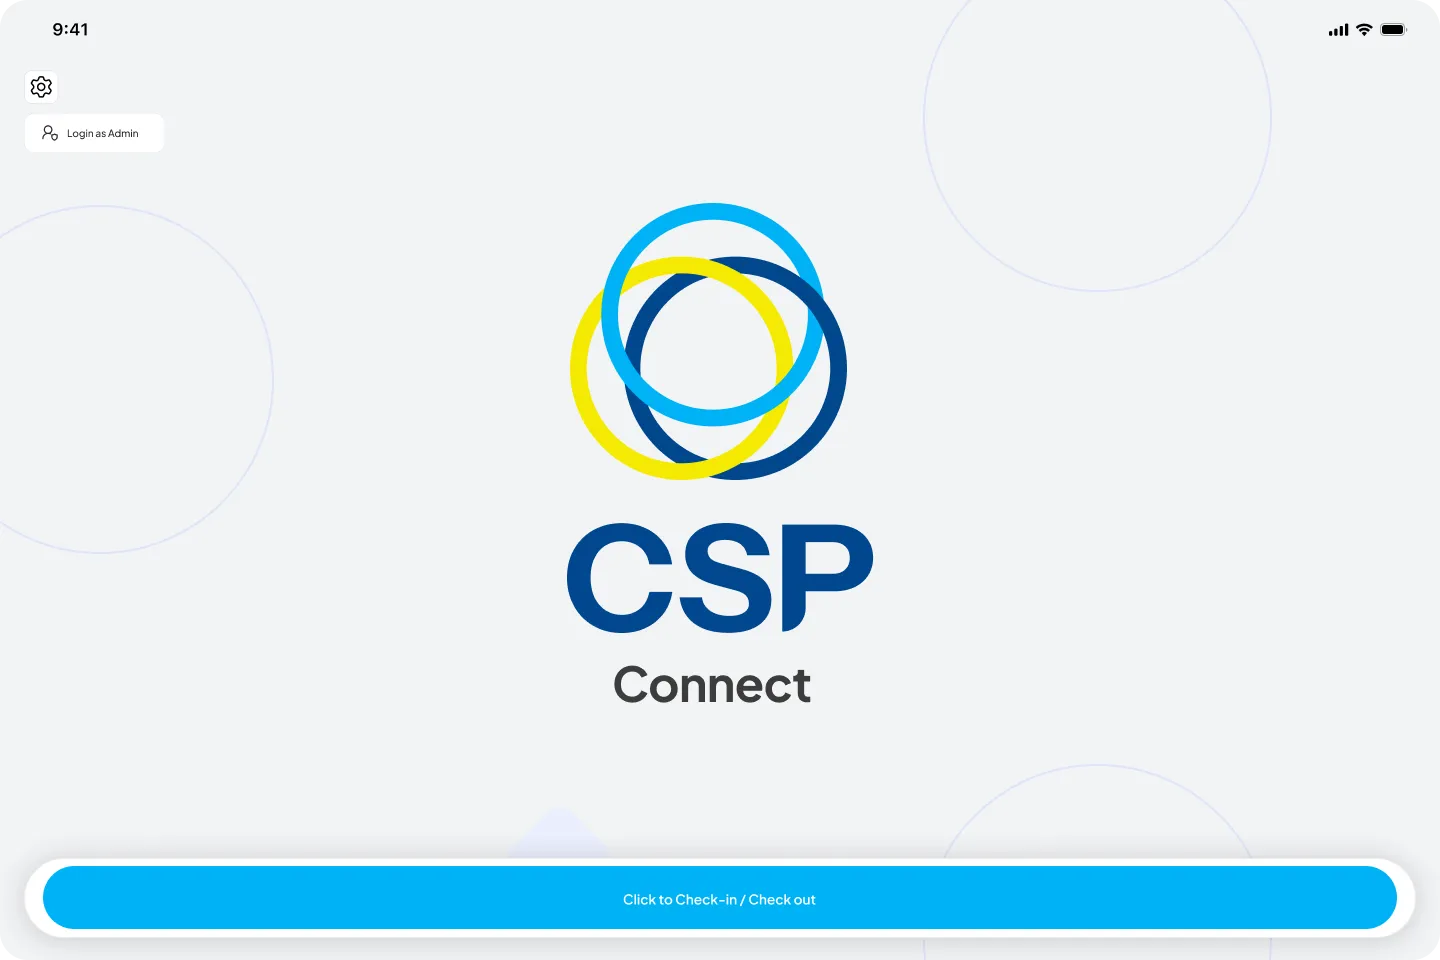
| 1. Idle screen | The kiosk shows the CSP Connect logo. Tap the blue button at the bottom to begin. |
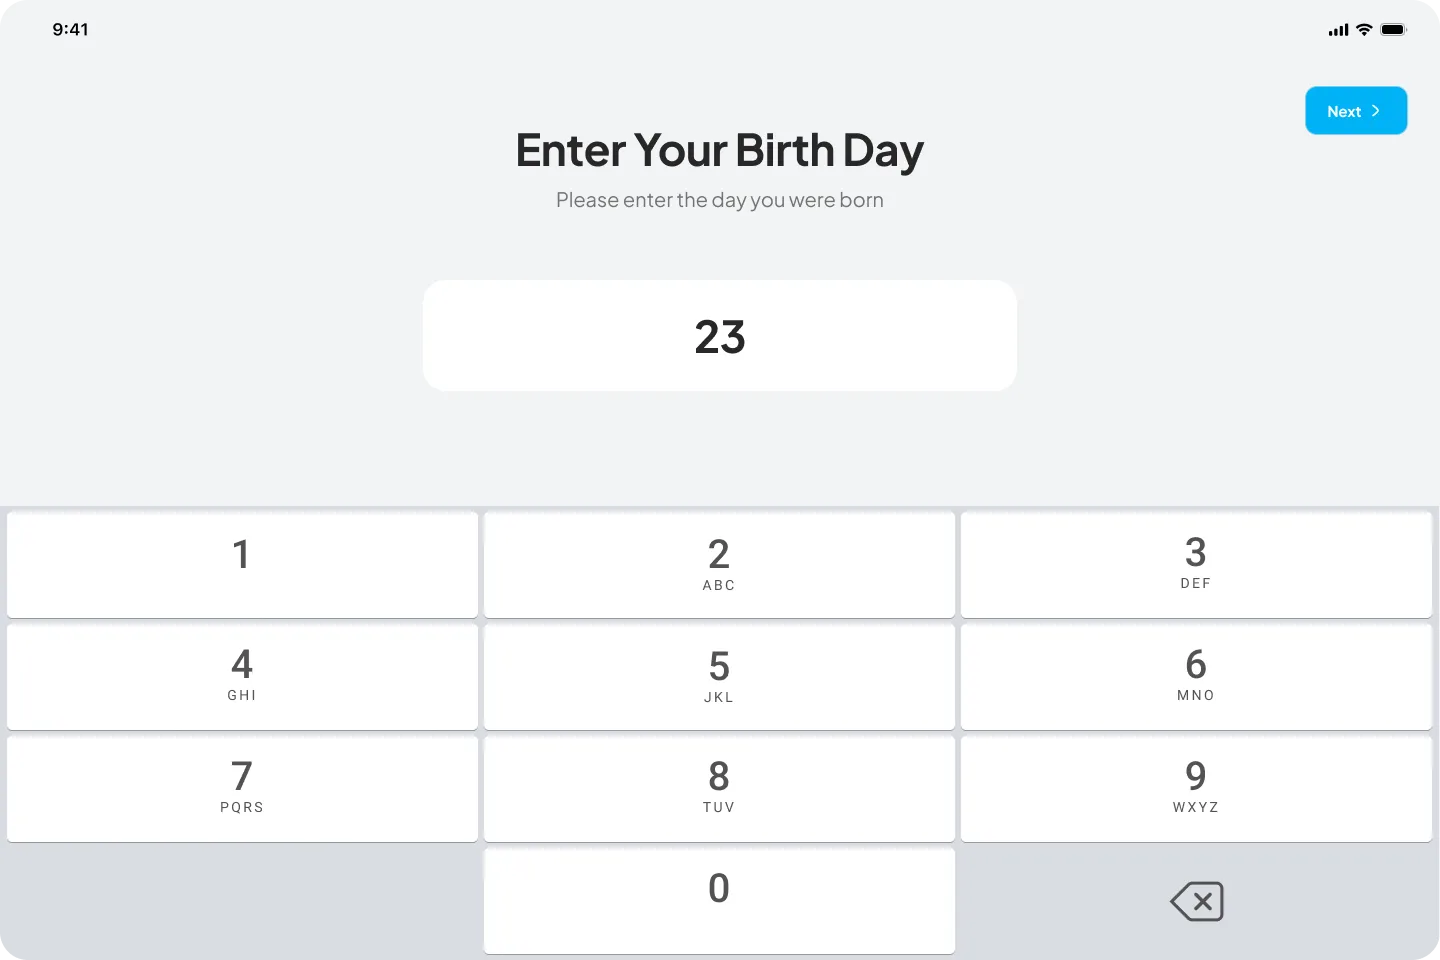
| 2. Enter your birth day | A numeric keypad appears. Enter the day you were born and tap Next. |
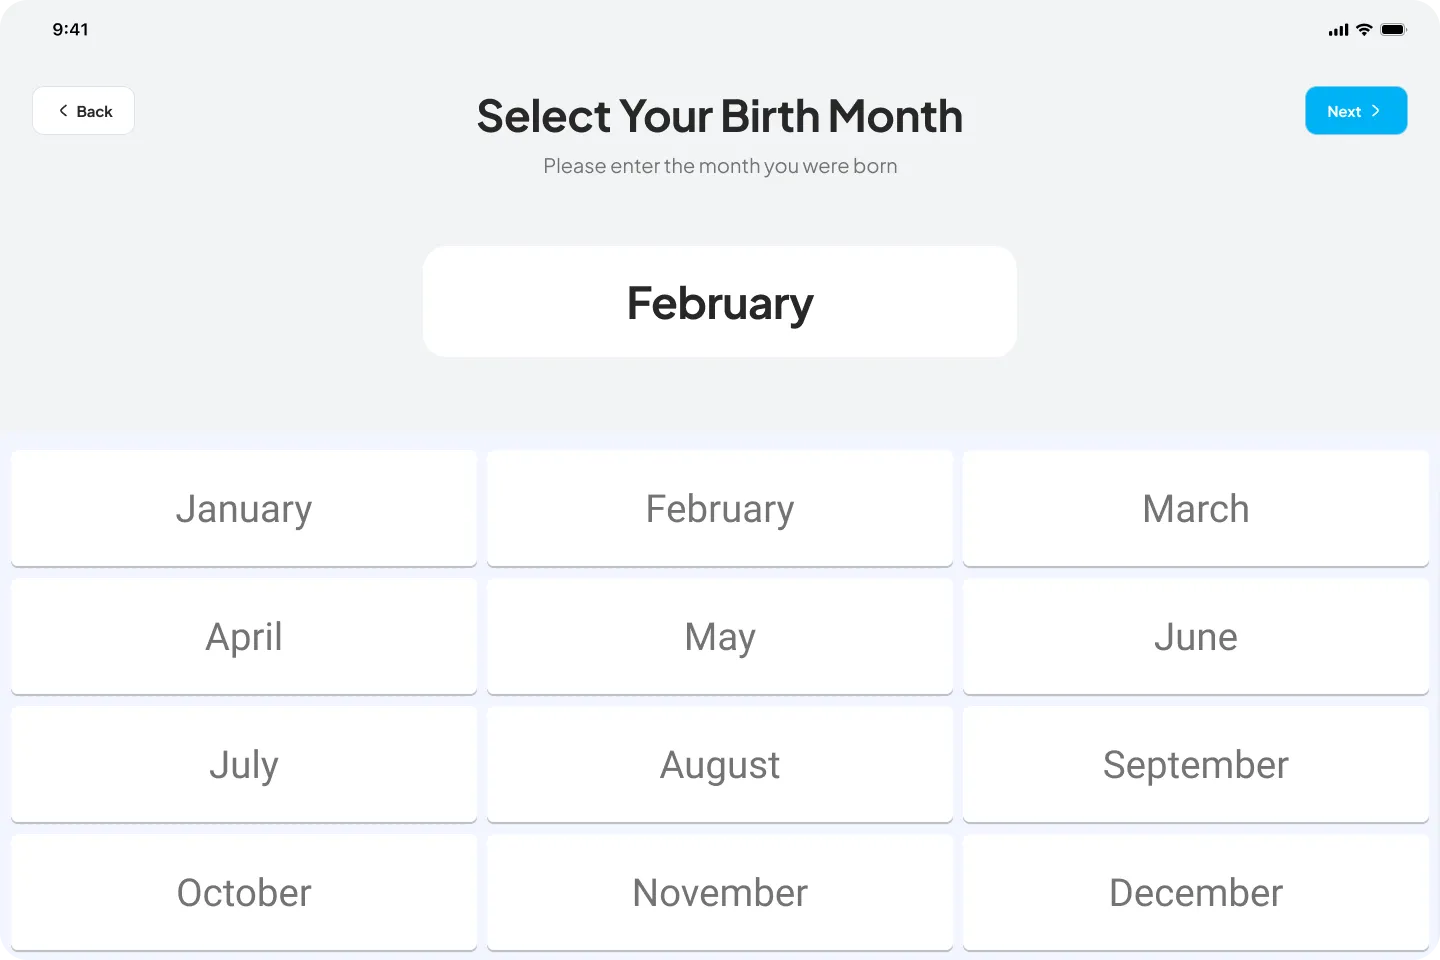
| 3. Select your birth month | A grid of months appears. Tap your birth month. |
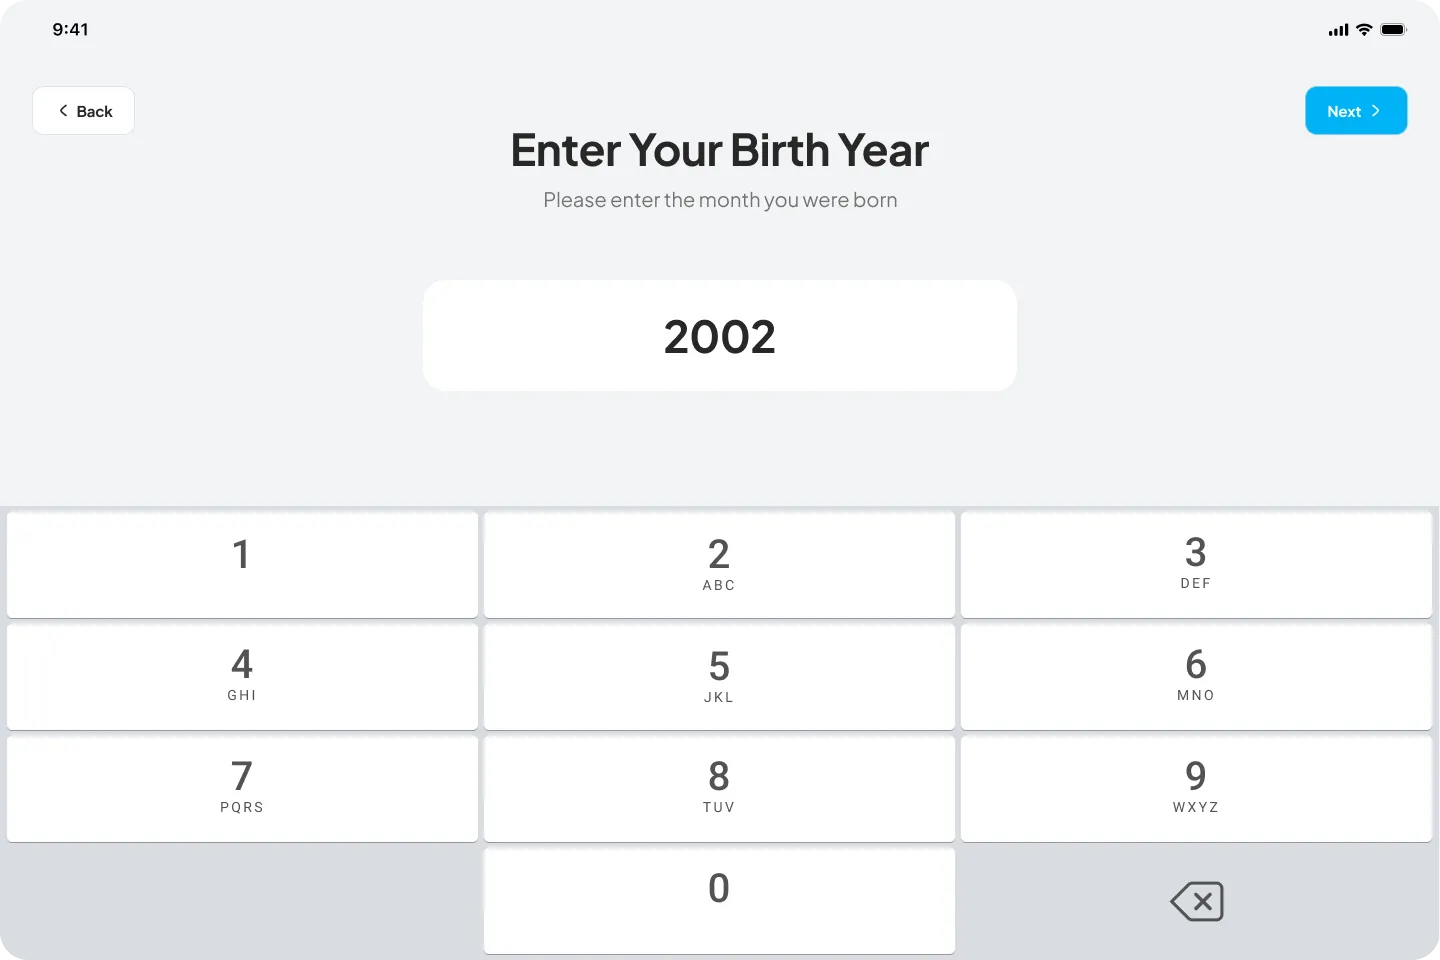
| 4. Enter your birth year | A numeric keypad appears. Enter your four-digit birth year and tap Next. |
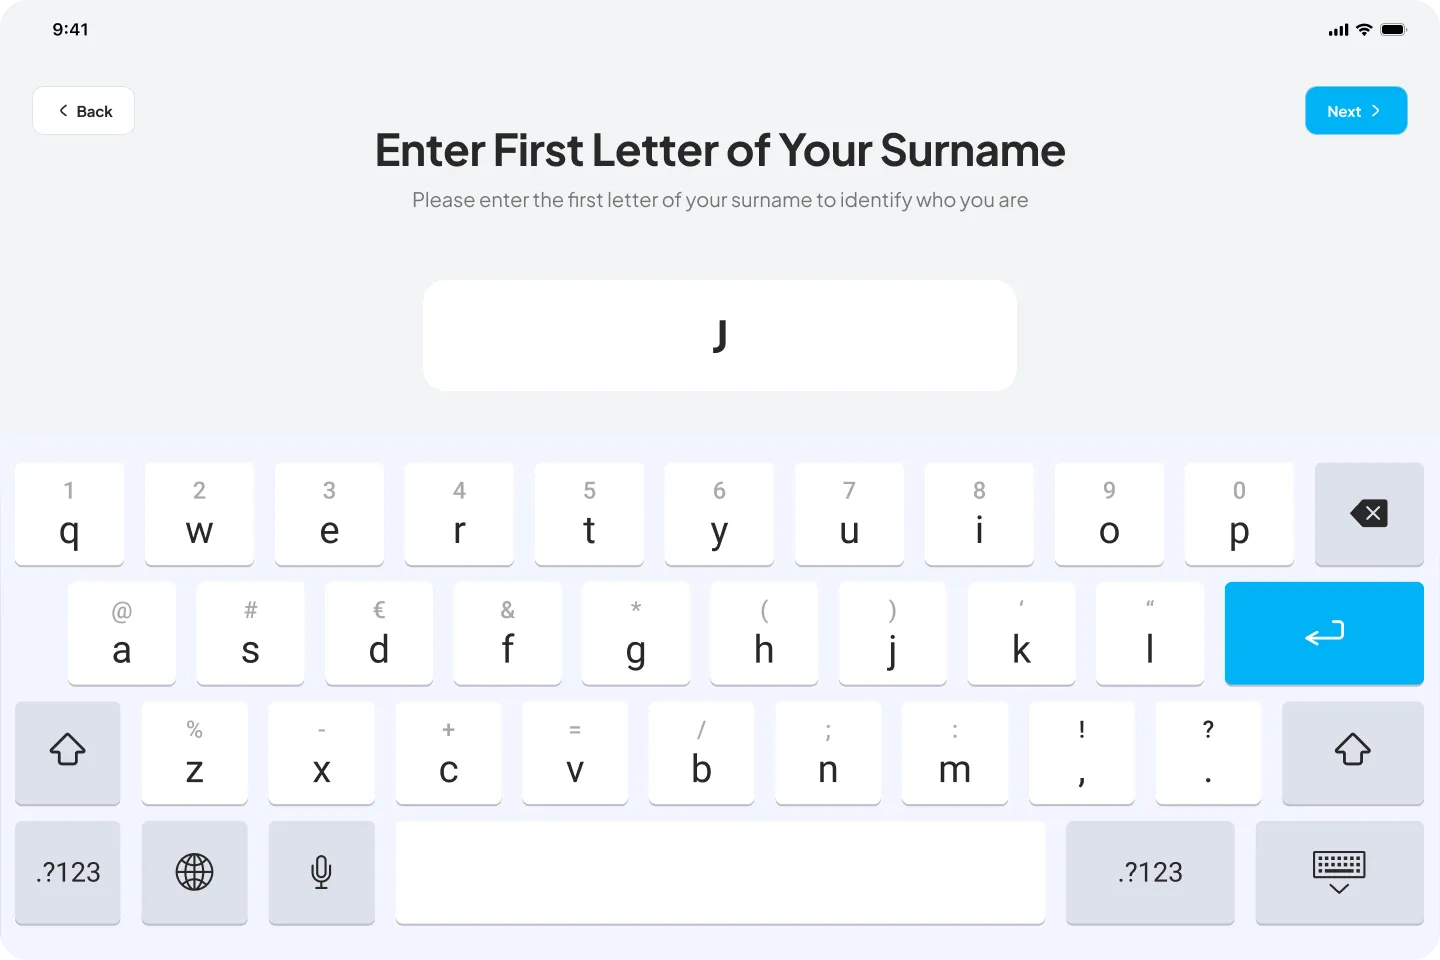
| 5. Enter the first letter of your surname | A keyboard appears. Type the first letter of your surname and tap Next. |
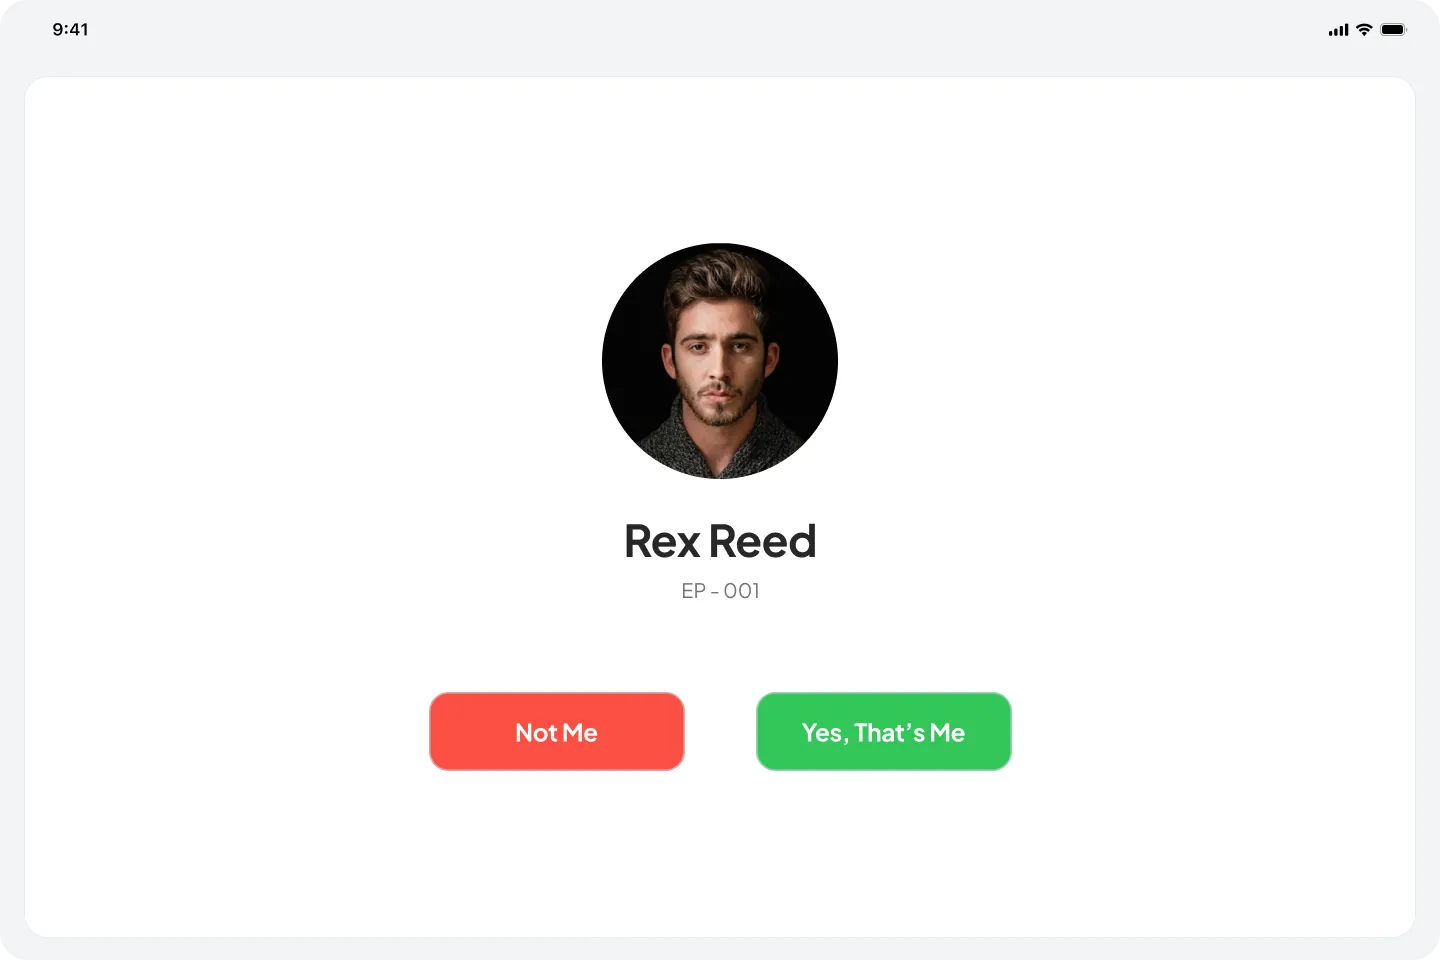
| 6. Confirmation screen | Your name appears. Tap Yes, That’s Me to confirm or Not Me to start again. |
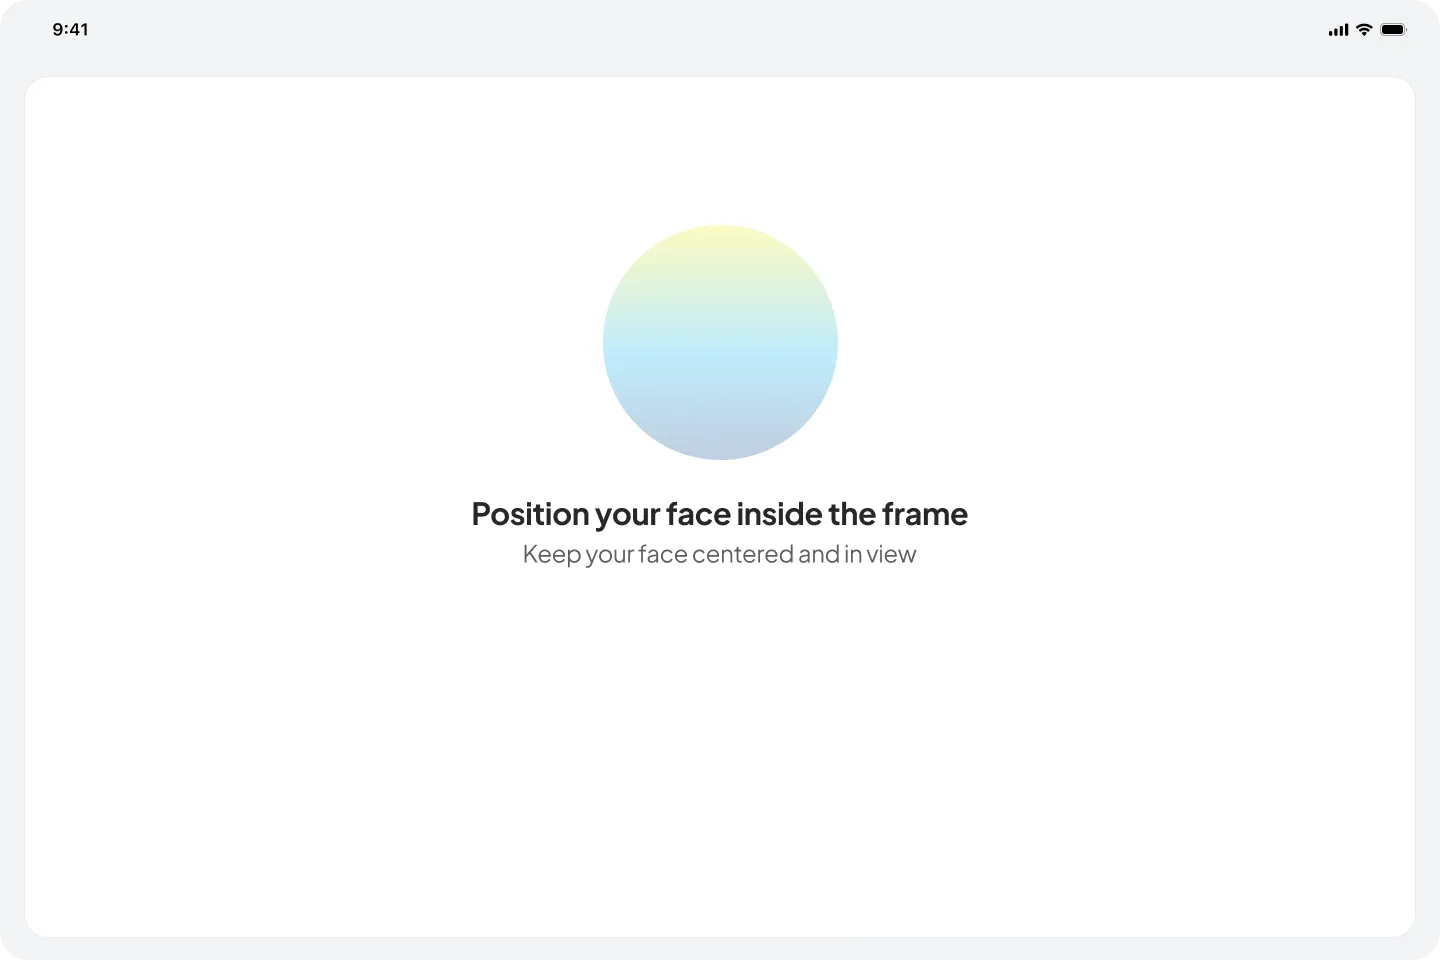
| 7. Face verification | Position your face inside the circle on screen. The camera captures a photo for your manager’s review. |
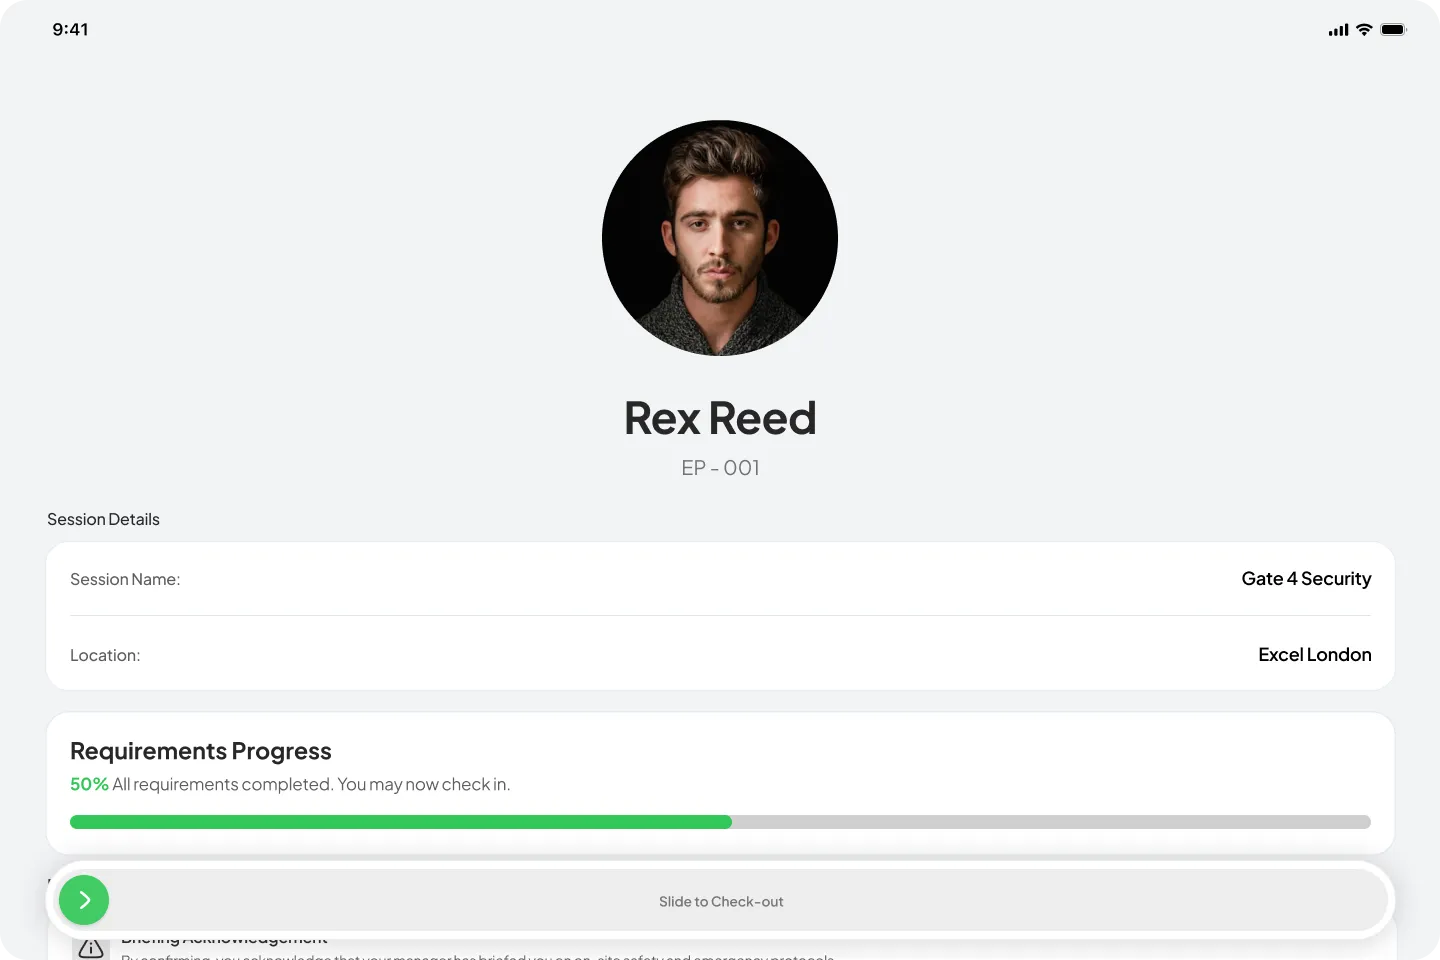
| 8. Review prerequisites | Your session details and requirements progress are shown. Complete any prerequisites required before check-in, then slide the bar to check in. |
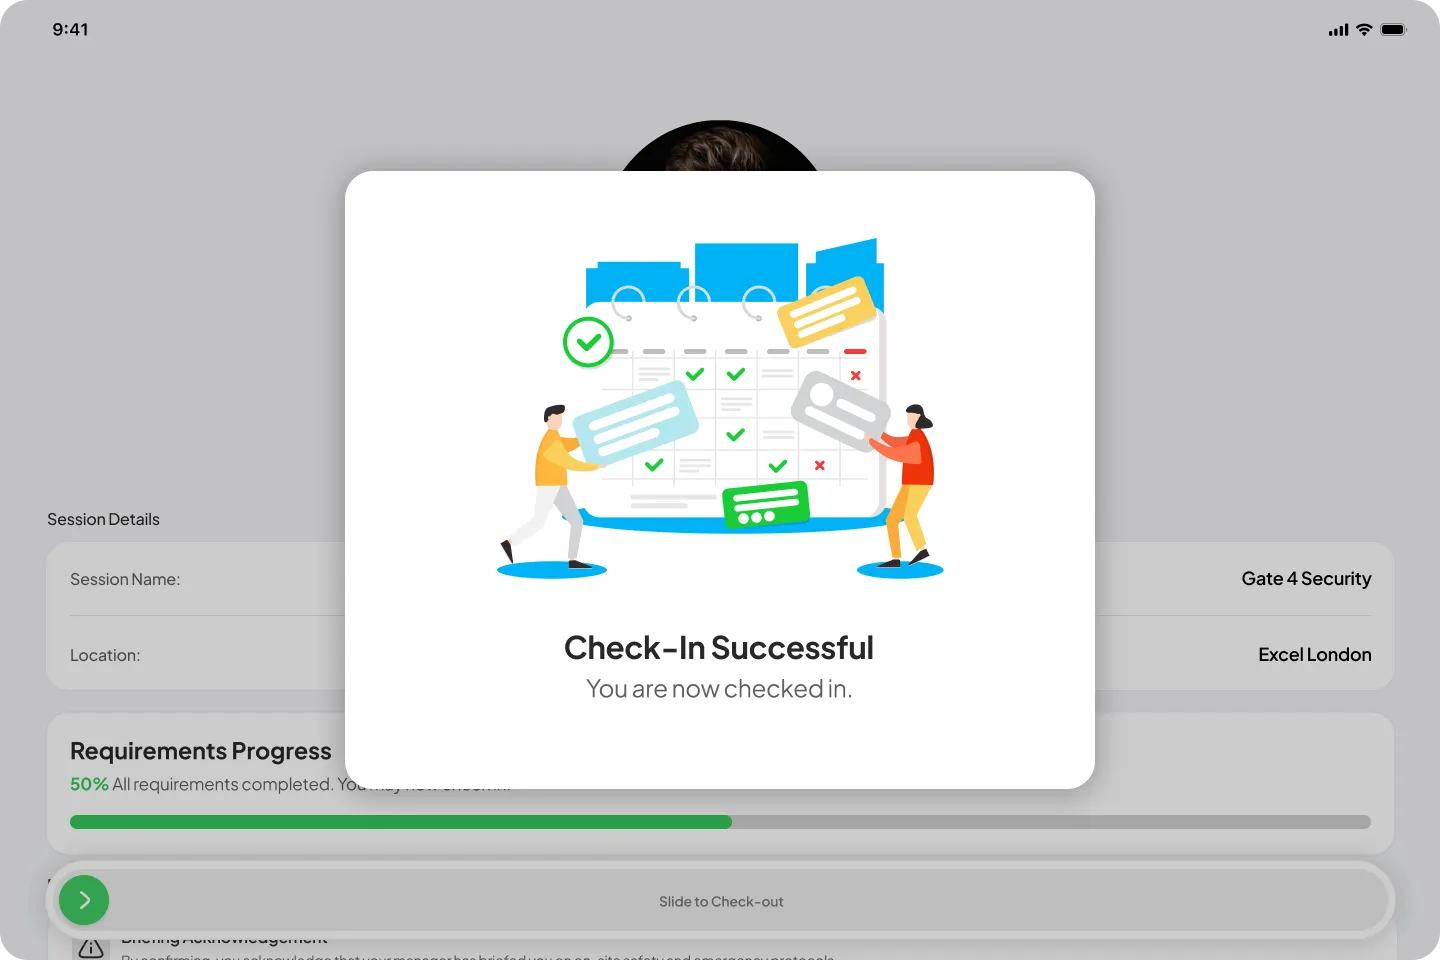
| 9. Check-in successful | A confirmation screen appears. The kiosk returns to the idle screen after a few seconds. |
Step-by-step guide
Section titled “Step-by-step guide”Step 1: The idle screen
Section titled “Step 1: The idle screen”When you arrive at the kiosk, the CSP Connect logo is displayed on the idle screen. A blue button at the bottom reads Click to Check-In / Check Out.
- Tap the blue button to begin the check-in process.
- If you see a Login as Admin button in the top left, this is for managers and admin staff only. Do not tap it.
Step 2: Enter your birth day
Section titled “Step 2: Enter your birth day”The first screen asks for the day of your birth.
- Use the numeric keypad to enter your birth day (for example, 1 or 23).
- Tap Next in the top right to proceed.
- If you make a mistake, tap the backspace key on the keypad to clear and re-enter.
Step 3: Select your birth month
Section titled “Step 3: Select your birth month”A grid of all 12 months is displayed.
- Tap your birth month. Your selection appears in the box at the top of the screen.
- Tap Next to proceed.
Step 4: Enter your birth year
Section titled “Step 4: Enter your birth year”A numeric keypad appears again for your birth year.
- Enter your four-digit birth year (for example, 2002).
- Tap Next to proceed.
Step 5: Enter the first letter of your surname
Section titled “Step 5: Enter the first letter of your surname”A keyboard appears on screen.
- Type the first letter of your surname (for example, J for Johnson).
- Only one character is needed. Tap Next to proceed.
Step 6: Confirmation screen
Section titled “Step 6: Confirmation screen”The kiosk searches for a matching staff record and displays a profile photo, name, and staff ID.
- If this is you: tap Yes, That’s Me (green button) to proceed.
- If this is not you: tap Not Me (red button). The form resets and you can start again.
Step 7: Face verification
Section titled “Step 7: Face verification”After confirming your identity, the camera opens for a face verification check.
- Position your face inside the circle shown on screen.
- Keep your face centred and hold the tablet steady.
- The camera captures a photo automatically once your face is detected.
Step 8: Review prerequisites and check in
Section titled “Step 8: Review prerequisites and check in”Your session details and requirements progress are displayed on screen.
- Session name and location are shown at the top.
- Requirements progress shows a percentage bar indicating how many prerequisites have been completed.
- Slide the bar at the bottom to check in once you are ready.
If the slide bar is locked or your requirements show as incomplete, your booking may not yet be confirmed. Contact your manager on site and they can update your booking status from the web platform.
Step 9: Check-in successful
Section titled “Step 9: Check-in successful”A confirmation screen appears showing Check-In Successful and You are now checked in.
- The kiosk automatically returns to the idle screen after a few seconds.
- Your check-in is now recorded in the system.
Checking out at the end of your shift
Section titled “Checking out at the end of your shift”The check-out process follows the same identity verification steps as check-in.
- Tap the blue button on the idle screen.
- Complete the date of birth and surname steps as before.
- Confirm your identity on the confirmation screen.
- Complete face verification.
- If your session has checkout prerequisites, complete them on screen before the slide bar becomes active.
- Slide the bar to check out.
- A Check-Out Successful screen appears and the kiosk returns to idle.

Dos and don’ts
Section titled “Dos and don’ts”- Do approach the kiosk at the start and end of every shift.
- Do tap Not Me immediately if the wrong name or photo appears. Do not proceed.
- Do position your face clearly inside the circle during face verification.
- Do speak to your manager if you cannot verify your identity after trying again.
- Don’t share your date of birth or surname with other workers.
- Don’t attempt to verify as someone else. This is audited by your manager.
- Don’t walk away mid-flow. The Back button resets the form for security.
- Don’t tap Login as Admin. This is for managers and admin staff only.
Troubleshooting
Section titled “Troubleshooting”| Problem | What to do |
|---|---|
| My details are not found | Double-check your day, month, year, and first letter of surname. Make sure you are using the date of birth registered with your employer. |
| The wrong person’s name appears | Tap Not Me immediately. Do not proceed. Start the process again from the idle screen. |
| The face verification circle does not appear | Ensure the tablet camera is not blocked and the screen is not in low-power mode. Try tapping the screen to wake it. |
| The kiosk is frozen or unresponsive | Do not attempt to restart the tablet yourself. Notify your manager or admin immediately. |
| I checked in but my record is not showing | Inform your manager right away so they can manually update your attendance record on the web platform. |
| I forgot to check out | Contact your manager as soon as possible. They can manually check you out from the web platform. |
Privacy and security
Section titled “Privacy and security”- Your date of birth and surname are used only to verify your identity on the kiosk. They are not stored on the device.
- Your face verification photo is sent securely to your manager and admin for review. It is not used for automated facial recognition at this time.
- Each kiosk session is fully reset after check-in or check-out. No personal data remains visible on screen.
- The Back button at every step resets the form immediately. This protects your details if you walk away mid-flow.
Quick reference
Section titled “Quick reference”- Flow: Idle screen > Birth day > Birth month > Birth year > First letter of surname > Confirm identity > Face verification > Review prerequisites > Slide to check in or check out.
- Back button: resets the entire form to the idle screen at any step.
- Not Me button: resets the form if the wrong profile is shown.
- Face verification: captured for manager and admin review, not automated facial recognition.
- Need help: speak to your manager or admin on site.