Kiosk
The CSP Connect Kiosk is a standalone tablet app for casual workers who do not have a mobile device with them. As a manager or admin, you are responsible for setting up the kiosk at the start of each event, configuring the branch and check-in rules, and reviewing face verification photos submitted by workers during check-in.
Admin responsibilities
Section titled “Admin responsibilities”| When | Responsibility |
|---|---|
| Before the event | Log in as admin, set up the branch, configure check-in rules and prerequisites. |
| During the event | Monitor worker check-ins, review face verification photos flagged for audit. |
| After the event | Confirm all workers have checked out. Manually check out anyone who missed it from the web platform. |
| Ongoing | Keep the tablet charged, secured, and in kiosk mode. Do not share your admin login credentials. |
1. Logging in as admin
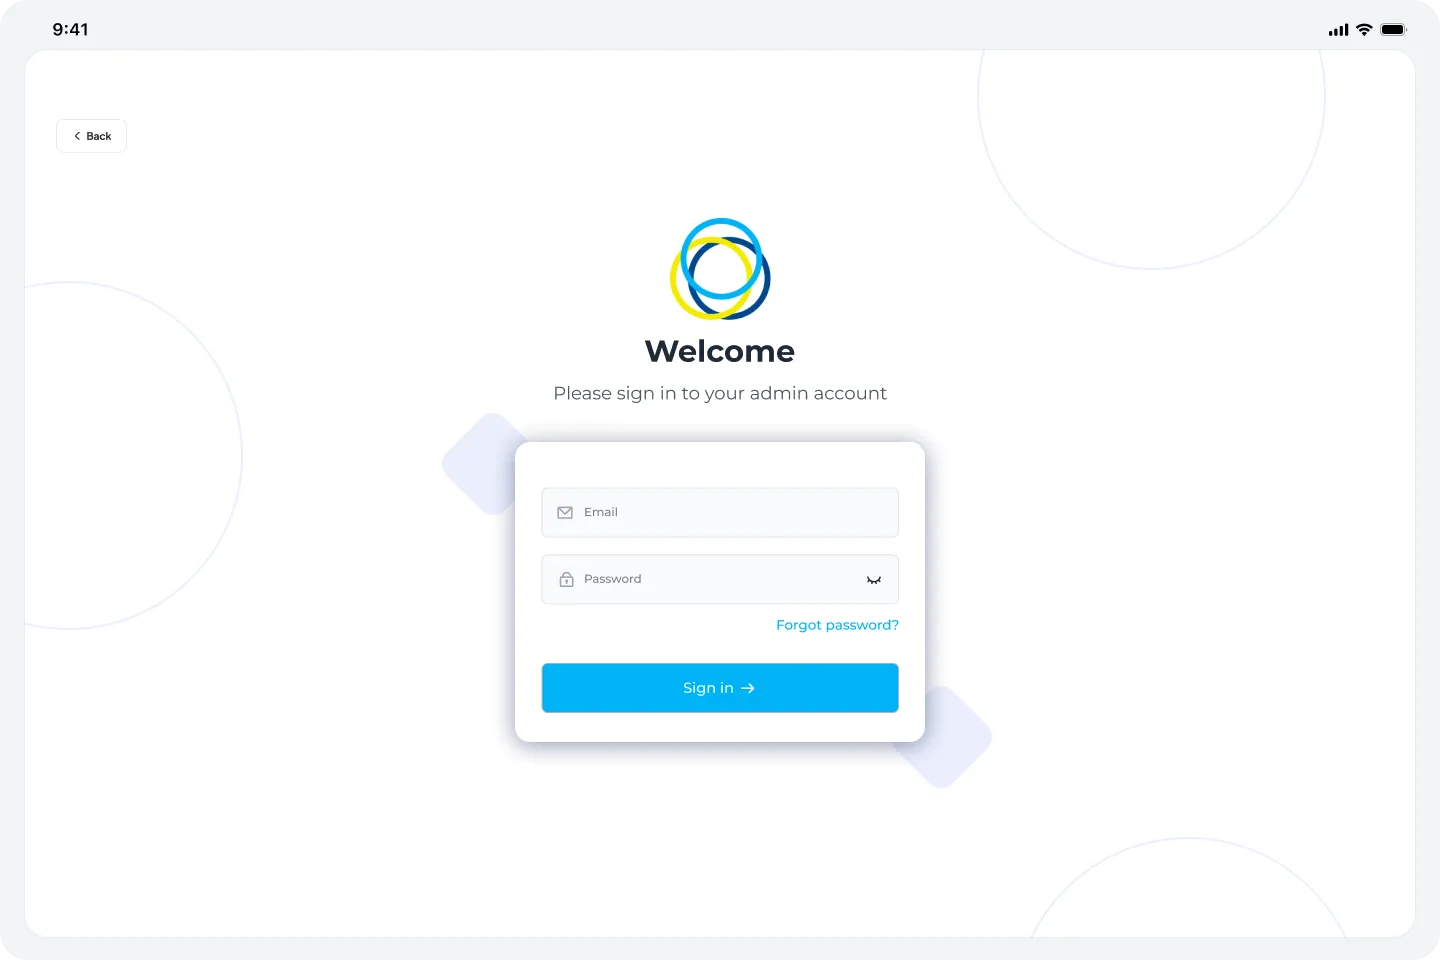
Section titled “1. Logging in as admin”The kiosk idle screen has a Login as Admin button in the top left corner. This is how you access the admin area to set up and manage the device.
- On the kiosk idle screen, tap Login as Admin in the top left corner.
- The admin login screen appears. Enter your email address and password.
- Tap Sign In.
Once logged in, you will see the admin panel with three tabs at the bottom: Home, Branch Setup, and Check-In Rules.
2. Branch setup
Section titled “2. Branch setup”Before workers can use the kiosk, you must configure the branch for the current event. This tells the kiosk which event and location it is operating for.
- From the admin panel, tap Branch Setup in the bottom navigation bar.
- The Branch Configuration History screen shows all previously configured branches. Tap + Add Branch in the top right to create a new one.
- The Setup Branch screen lists all available branches. Use the Search Branch bar at the top to quickly find a specific branch.
- Select one or more branches using the checkbox on the left of each row.
- Tap Setup to confirm the selected branches, Remove to deselect a previously configured branch, or Cancel to discard changes.
The configured branches are shown in a Selected Branches modal and recorded in the Branch Configuration History with today’s date and your name as the creator.

3. Check-in rules
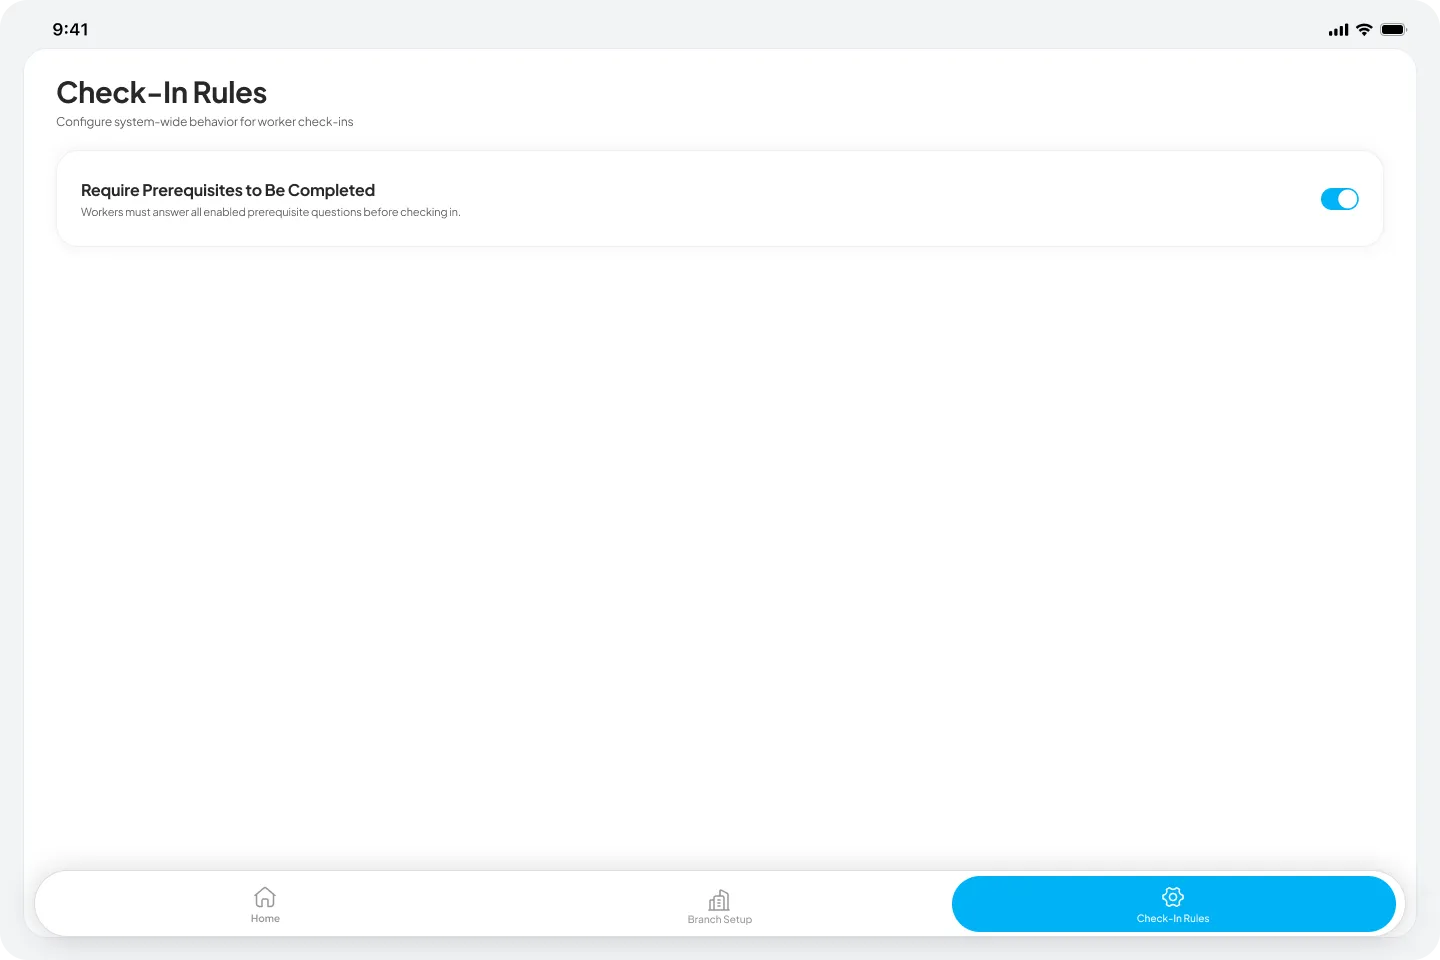
Section titled “3. Check-in rules”The Check-In Rules screen lets you configure prerequisite gating behaviour for this kiosk.
- From the admin panel, tap Check-In Rules in the bottom navigation bar.
- Toggle Require Prerequisites to Be Completed on or off.
| Setting | What it does |
|---|---|
| ON | Workers must complete all enabled prerequisites before the check-in slide bar becomes active. Recommended for most events. |
| OFF | Workers can check in without completing prerequisites. Use only if prerequisites are not required for this event. |
Checkout prerequisites
Section titled “Checkout prerequisites”Prerequisites can also be configured to gate checkout rather than check-in. When a checkout prerequisite is assigned to a session, the slide bar to check out only becomes active once the worker has completed it. This is useful for end-of-shift briefings or acknowledgements that must be completed before a worker leaves.
Checkout prerequisites are configured at the session level from the web platform — not from the kiosk itself.
PDF prerequisites
Section titled “PDF prerequisites”Workers can view PDF prerequisites through a browser-based viewer directly on the kiosk tablet. Downloading is not available.
4. Confirming worker bookings
Section titled “4. Confirming worker bookings”Workers can only check in on the kiosk if their booking status is set to Confirmed. This is managed from the CSP Connect web platform, not from the kiosk itself.
- Log in to the CSP Connect web platform.
- Navigate to the relevant event and session.
- Ensure that every casual worker booked for the session has their status set to Confirmed.
Workers whose booking is not confirmed will not be able to check in on the kiosk.
5. Face verification audit
Section titled “5. Face verification audit”When a worker checks in on the kiosk, the app captures a face verification photo as part of the identity check. This photo is sent to the manager and admin for review and is not processed automatically.
- After workers have checked in, log in to the CSP Connect web platform.
- Navigate to the Acknowledgement Logs section for the relevant session.
- Review each face verification photo submitted by workers who used the kiosk.
| Photo status | What to do |
|---|---|
| Acceptable | No action needed. The check-in record stands. |
| Unacceptable (wrong person or no face visible) | Tap Send Warning. The warning is logged to the worker’s profile. |
| Unacceptable (taken outside the geofence) | Tap Send Warning. Remind the worker that photos must be taken on site. |
| Multiple people in the photo | Tap Send Warning. Workers must submit a solo photo showing their own face clearly. |
6. Managing the kiosk during the event
Section titled “6. Managing the kiosk during the event”- Check that the kiosk returns to the idle screen after each worker check-in or check-out. If it gets stuck, tap Back to reset.
- If a worker cannot verify their identity, check that their date of birth and surname are registered correctly on the web platform.
- If a worker’s booking is not confirmed, update their status from the web platform and ask them to try again.
- If the kiosk freezes or becomes unresponsive, do not restart the device yourself. Note the issue and contact your IT support team.
Missed check-outs
Section titled “Missed check-outs”If a worker forgets to check out on the kiosk at the end of their shift, you can manually check them out from the CSP Connect web platform.
- Log in to the web platform.
- Navigate to the relevant session’s attendance log.
- Find the worker’s record and apply a manual check-out.
- Add a note explaining why the manual check-out was applied.
7. After the event
Section titled “7. After the event”- Confirm that all workers booked for the session have a check-in and check-out record in the attendance log.
- Manually check out any workers who did not check out on the kiosk.
- Review all face verification photos from the session and action any warnings.
- Ensure the tablet is returned to its secure location, charged, and locked.
- Do not leave the tablet unattended in an unlocked state after the event.
8. Security and device management
Section titled “8. Security and device management”- The admin login credentials for the kiosk should be known only to managers and admins assigned to the event. Do not share them with casual workers.
- Once the branch is set up and check-in rules are configured, log out of the admin panel before handing the tablet to the event site.
- The kiosk should be placed in a visible, fixed position at the site entrance where workers naturally approach.
- The tablet should be mounted or secured to prevent it from being moved or taken away from the check-in point.
- If you suspect the tablet has been tampered with or the admin account has been compromised, contact your IT support team immediately.
Quick reference
Section titled “Quick reference”| Task | Where to do it |
|---|---|
| Log in as admin | Tap Login as Admin on the kiosk idle screen |
| Set up the branch | Admin panel > Branch Setup > + Add Branch > select branches via checkboxes > Setup |
| Search for a branch | Admin panel > Branch Setup > use the Search Branch bar |
| Configure check-in prerequisites | Admin panel > Check-In Rules > toggle on/off |
| Configure checkout prerequisites | Web platform > Event > Session > Prerequisites |
| Confirm worker bookings | CSP Connect web platform > Event > Session > set status to Confirmed |
| Review face verification photos | CSP Connect web platform > Acknowledgement Logs |
| Send a warning for an unacceptable photo | Web platform > Acknowledgement Logs > Send Warning |
| Manually check out a worker | Web platform > Attendance Log > manual check-out |
| Reset the kiosk mid-flow | Tap Back on the kiosk to return to the idle screen |